


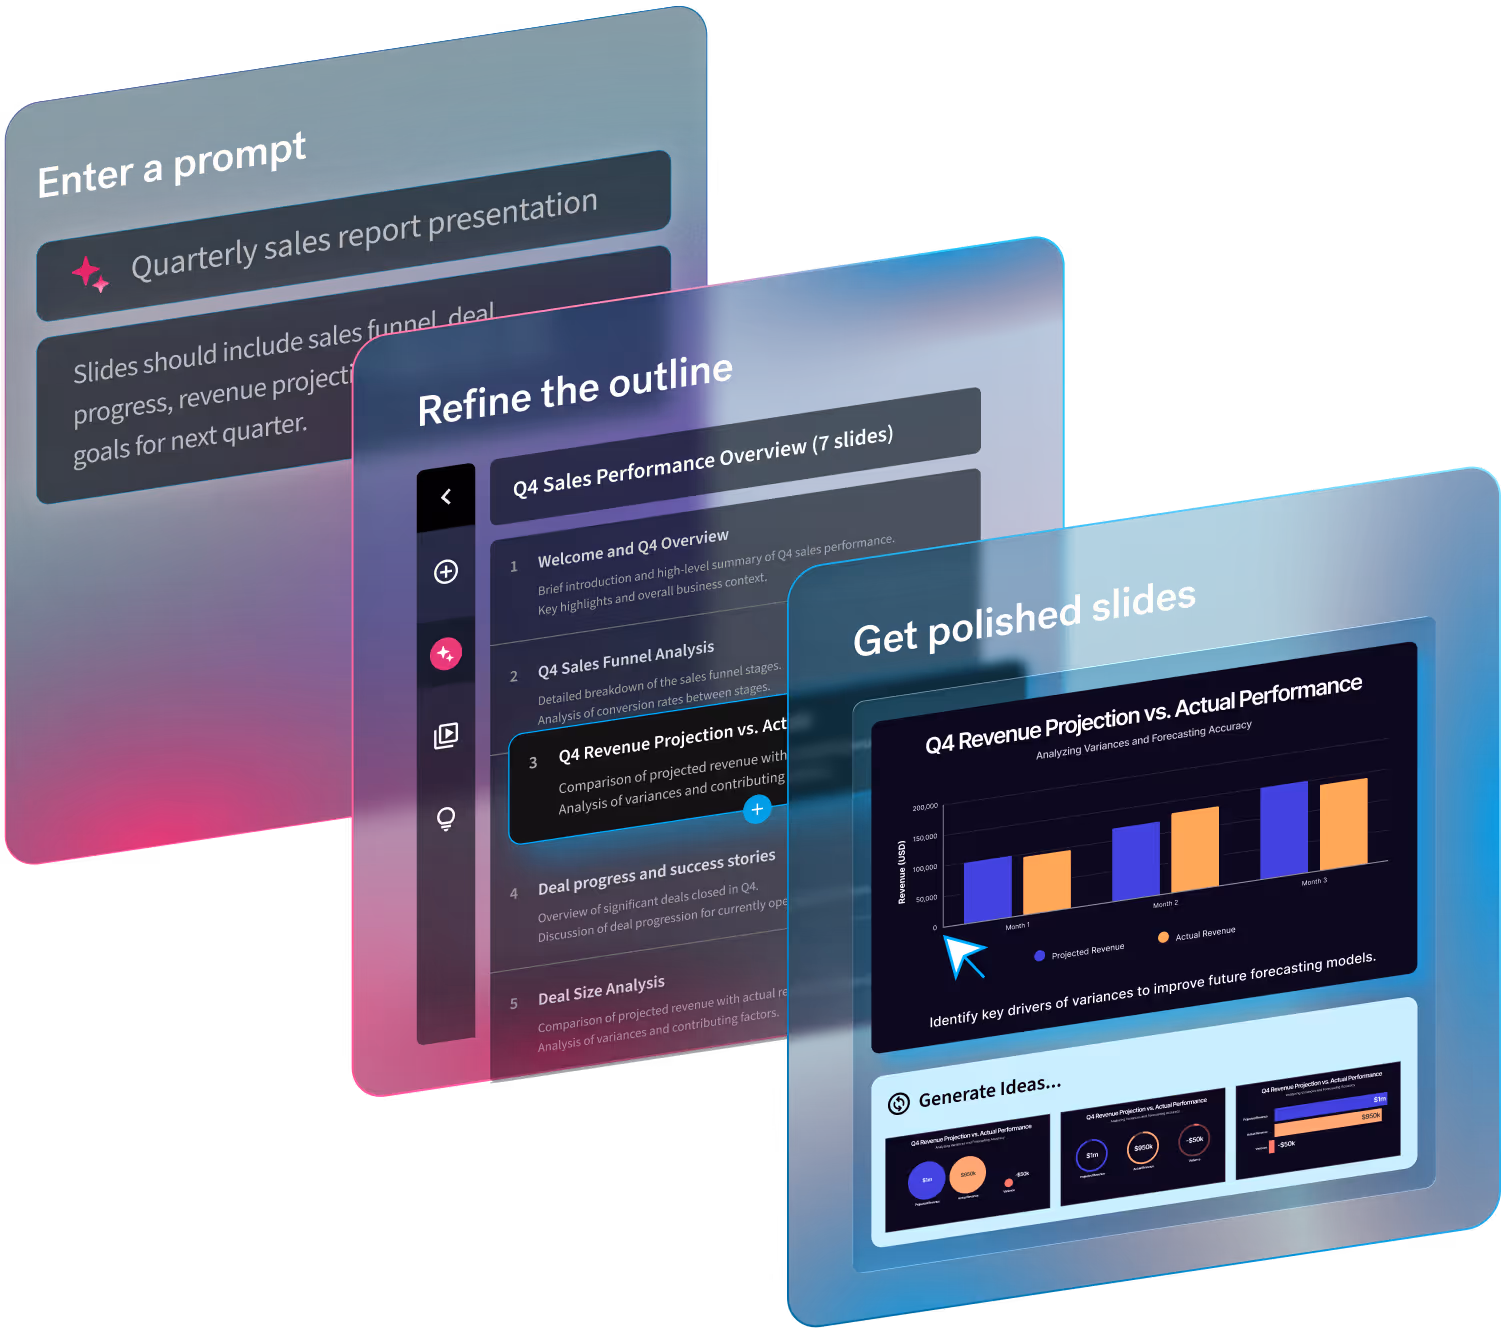
When you don’t know where to take your presentation, Smart Slide templates are a great starting point. The customizable templates use guardrails to protect the design as you add in your content, and can help you reimagine your story. While there are intentional limitations to maintain design integrity, there are so many different ways to customize each layout beyond the default settings.
In this series, we’re highlighting your favorite slide templates, and challenging you to try something new. For each Smart Slide, we’ll showcase different ways to style and format it to help inspire a new way to tell your story.
Product screenshot
Whether you have a product, service, or website, sometimes you need to share how a client or customer would view it on different devices. But how do you do that in a presentation? Screenshots alone can look messy and aren’t always in-line with your brand. With a product screenshot template, your presentation can share exactly what users are seeing when they use their personal devices to interact with your offer or brand.
You can customize the product screenshot template to visualize your product through the lens of your customers, view your website in a live state, share a snapshot of a social media post, or even highlight a location on a map.
Product screenshot slide design tips
A product screenshot is a powerful and versatile slide that can be used well beyond just a product screenshot. Here are five creative ways to make the product screenshot slide your own if you’re feeling stuck.
Toggle between different device frames
Different content will warrant different device frames. While a desktop template is great for sharing a product demo, other screenshots may look better in an iPhone or laptop frame. With a product screenshot, you can toggle between different device frames—without losing your content—until you find the best fit for your story.

Change the layout
For a more evolved design, you can opt for a column on either side of your product screenshot. The columns are fully customizable, and can be used as a title with big text or to add color to the screenshot with bullet points, icons and text, or a short description. This provides more context to what you’re sharing on the slide.
Add callouts for key takeaways
What’s the most important takeaway from the screenshot? You can use callouts to bring attention—or add context—to bigger ideas. They tell the audience exactly what you need them to know, so there’s no guesswork. It also gives you more creative freedom to add custom design elements to the slide.
Bring it to life with a video
While screenshots give people a glimpse into your product, design prototype, or offering—a video brings it to life. Instead of a screenshot, add a video in the device frame for a more engaging, dynamic experience. This could be a quick product demo, a preview of a new website, or an example of a marketing ad—let the slide work for you.
Switch to a webview Smart Slide for bigger demos
For bigger demos, switch to a webview Smart Slide. The template allows you to embed webpages on your slide without having to worry about pixelated screenshots or outdated content. This is huge for product and design teams who need to showcase their work in a more interactive way. You can easily switch between templates without losing your content and having to start from scratch.


.png)
.avif)
